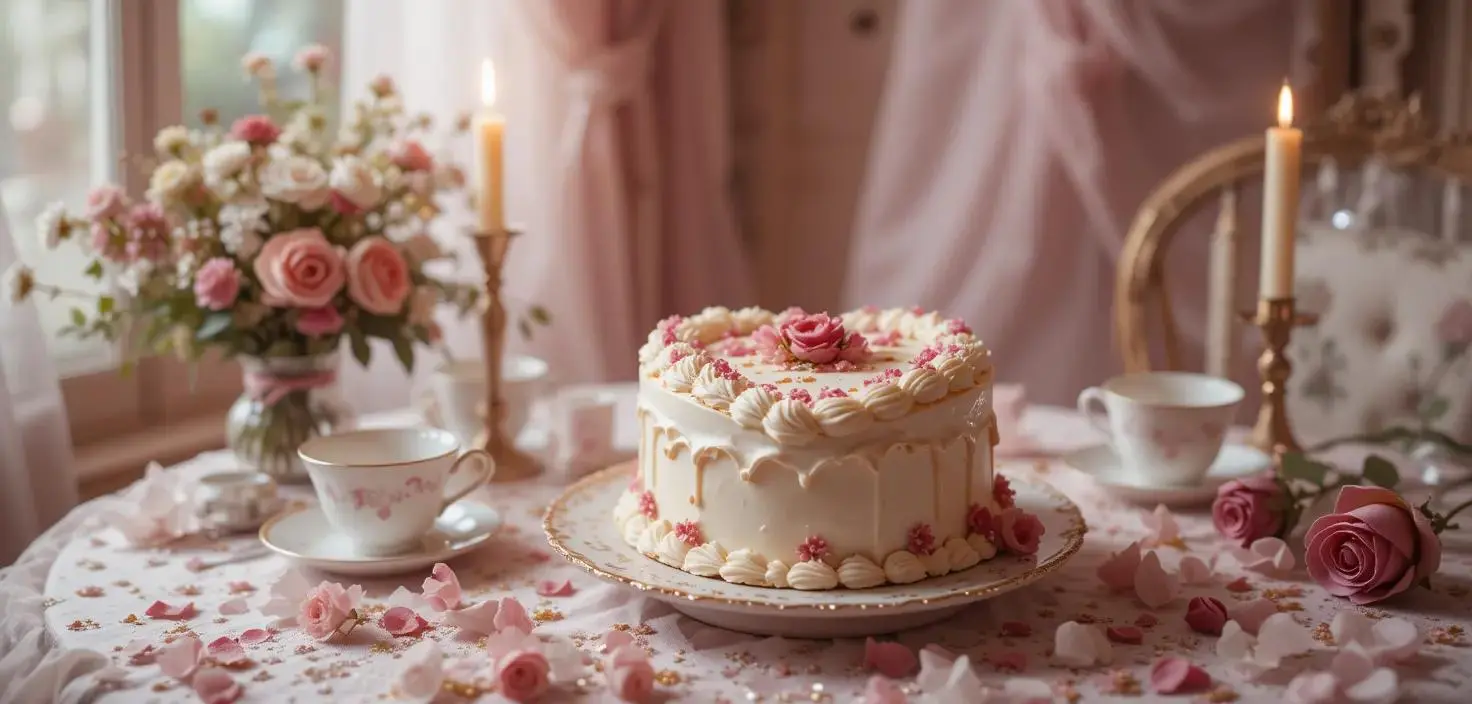
Ever dreamed of creating a cake that’s both visually stunning and timeless? Crafting a perfect vintage heart cake can feel overwhelming, with intricate designs and piping that seem reserved for experts. Whether it’s uneven layers, lackluster decorations, or simply not knowing where to start, making a showstopping vintage heart-shaped cake often feels out of reach.
But worry no more! This step-by-step recipe is your foolproof guide to mastering a stunning vintage heart cake, complete with professional tips and easy variations like creating a classic vintage heart cake white design or even a birthday-themed version.
In this article, we’ll walk you through the entire process—from selecting the right ingredients to piping like a pro—and share serving suggestions, storage tips, and creative ideas to make your cake unforgettable. Let’s dive in and create a dessert that will wow everyone, whether it’s for Valentine’s Day, a birthday, or just because!
What is a Vintage Heart Cake?
A vintage heart cake is more than just a dessert; it’s a slice of nostalgia, artistry, and celebration all rolled into one. With its delicate heart shape and intricate vintage piping, this cake has become a favorite for special occasions like Valentine’s Day, anniversaries, and birthdays. The charm lies in its timeless design, often featuring soft pastel colors, ornate patterns, and a touch of elegance that makes it the centerpiece of any table.
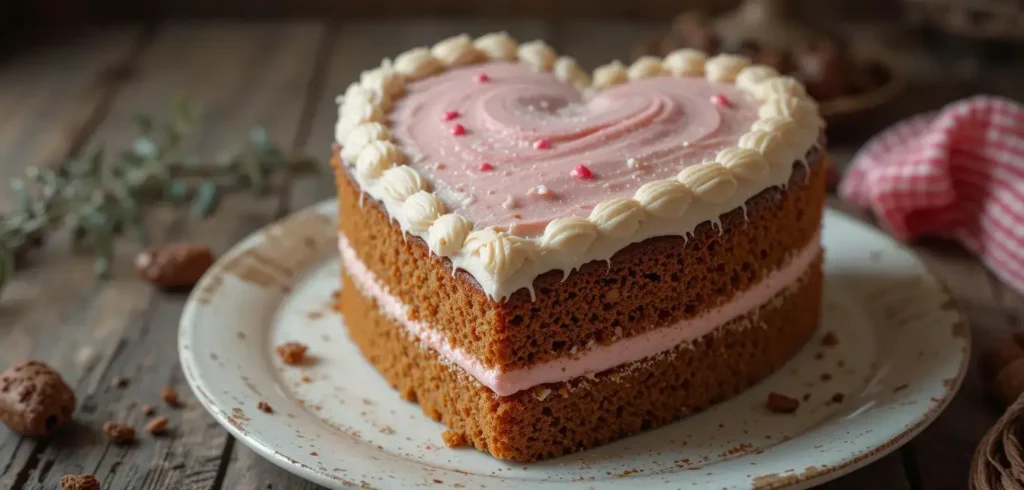
But what exactly sets a vintage heart cake apart from your average cake?
Here are the key characteristics that make it so special:
- Heart Shape: The iconic heart-shaped design is both romantic and versatile, perfect for expressing love and care.
- Vintage Piping: Inspired by classic cake decorating techniques, this cake often features intricate swirls, delicate flowers, and lace-like patterns that evoke a sense of timeless beauty.
- Customizable Design: Whether you prefer a vintage heart cake white finish for a sophisticated look or a burst of vibrant colors for a birthday vintage heart cake, the design options are endless.
This recipe isn’t just about making a cake—it’s about creating a heartfelt masterpiece. Whether you’re crafting this dessert for a loved one or simply indulging your creative side, the vintage heart cake is your ticket to a dessert that’s both stunning and delicious.
Let’s dive into the process and turn your baking dreams into reality!
Why You’ll Love This Vintage Heart Cake Recipe
There’s something undeniably magical about a vintage heart cake. It’s not just a dessert; it’s a labor of love that speaks volumes with its charm and elegance. Here’s why this recipe will quickly become your go-to for any special occasion:
- Timeless Appeal: Whether you’re celebrating a birthday or Valentine’s Day, the vintage heart-shaped cake is a crowd-pleaser that never goes out of style. Its romantic and nostalgic design instantly creates a sense of occasion.
- Customizable Beauty: With options to create a vintage heart cake white finish or go bold with vibrant colors, this recipe allows you to match your cake to any theme or event effortlessly.
- Beginner-Friendly Guide: Worried about mastering intricate designs? Don’t be! This step-by-step recipe breaks down everything from baking the perfect layers to nailing those delicate vintage piping details.
- Perfect for Sharing: A cake like this isn’t just for eating; it’s for sharing memories. Whether you’re hosting a family gathering or surprising someone special, this cake adds a personal touch to your celebrations.
- Impressive Yet Doable: While the results look professional, this recipe is designed with home bakers in mind. You’ll feel like a pro as you craft a cake that looks as good as it tastes.
With this recipe, you’re not just baking—you’re creating a dessert that tells a story, warms hearts and leaves a lasting impression. Ready to make your own masterpiece? Let’s get started!
Ingredients You’ll Need for Your Vintage Heart Cake
Here’s everything you’ll need to create a stunning vintage heart cake, along with a few optional extras to make it uniquely yours:
Basic Ingredients:
- All-Purpose Flour: Provides the structure for your cake.
- Sugar: Adds sweetness and balances flavors.
- Butter: Ensures a rich, moist texture.
- Eggs: Bind the ingredients and add fluffiness.
- Baking Powder: Helps the cake rise evenly.
- Milk: Adds moisture and a soft crumb.
- Vanilla Extract: Enhances the flavor profile with a sweet, aromatic touch.
Optional Add-Ins:
- Cocoa Powder: For a decadent chocolate version.
- Almond Extract: Adds a nutty depth, perfect for a sophisticated twist.
- Food Coloring: Customize your vintage heart cake in white or pastel shades for added charm.
Pro Tip:
Want to explore flavor variations? Try adding citrus zest for a fresh, zesty profile or a pinch of cinnamon for a cozy, spiced flair. These little tweaks make your cake feel personal and unique to any occasion.
Now that you’ve got your ingredients ready, let’s move on to creating a masterpiece!
How to Make a Stunning Vintage Heart Cake – Step-by-Step
Creating a vintage heart cake may seem intricate, but with this simple guide, you’ll nail it like a pro. Here’s how to bring it all together:
1. Prepare Your Ingredients and Tools
- Preheat your oven to 350°F (175°C) and grease a heart-shaped cake pan.
- Measure and sift the dry ingredients (flour, baking powder) to avoid lumps.
2. Mix the Batter
- Cream the butter and sugar until light and fluffy—this step ensures a moist and tender cake.
- Beat in the eggs one at a time, followed by the vanilla extract for a smooth and flavorful base.
- Gradually add the dry ingredients, alternating with milk, to maintain a silky consistency.
3. Bake to Perfection
- Pour the batter into the prepared pan and smooth the top.
- Bake for 25–30 minutes or until a toothpick comes out clean. Let the cake cool completely before decorating.
4. Decorate with Vintage Charm
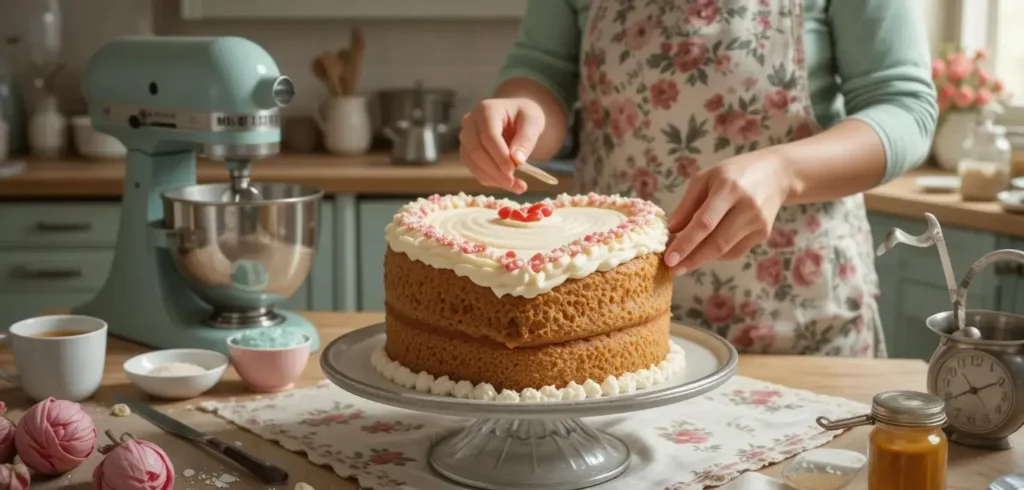
- Whip up a buttercream frosting and use a piping bag with a star tip to create vintage swirls and flowers.
- Add pastel food coloring or keep it classic with a vintage heart cake white design for an elegant finish.
Pro Tip:
For a unique flavor twist, try adding orange zest to the batter for a citrusy zing or a hint of espresso powder for a mocha-inspired cake. These variations can elevate your cake for different occasions!
With these steps, you’re all set to create a breathtaking cake that will wow your loved ones. Happy baking!
Nutritional Benefits of This Vintage Heart Cake Recipe
While vintage heart cakes are indulgent treats, they can also offer a surprising balance of nutrients when crafted thoughtfully. Here’s how:
1. Balanced Ingredients for Better Baking
- Eggs: Packed with protein and essential vitamins, they give the cake structure while adding nutritional value.
- Butter: A source of healthy fats, it contributes to the cake’s rich flavor and moist texture. For a lighter option, consider substituting with unsweetened applesauce or Greek yogurt.
- Milk: Adds calcium and keeps the crumb soft. You can use almond or oat milk for a dairy-free alternative.
2. Natural Sweeteners and Add-Ins
- Reduce the sugar slightly and balance sweetness with natural flavors like vanilla or citrus zest.
- Add nutrient-rich ingredients like finely chopped nuts or fresh berries for a burst of flavor and antioxidants.
3. Portion Control for a Guilt-Free Treat
Serving this cake in modest slices ensures everyone enjoys the experience while keeping portions in check. Pair it with fresh fruit or a light beverage to round out the dessert beautifully.
Pro Tip:
To boost the nutritional profile, experiment with whole wheat pastry flour instead of all-purpose flour—it adds fiber without compromising the cake’s texture.
This recipe strikes a balance between indulgence and thoughtful choices, making it a cake you can feel good about sharing with loved ones. After all, every bite should be as nourishing as it is delightful!
Pro Tips and Variations for Your Vintage Heart Cake
To take your vintage heart cake from great to unforgettable, these tips and variations will add flair and ensure success. Let’s dive in:
Pro Tips for Perfect Results
- Room Temperature Ingredients: Always use room temperature butter, eggs, and milk for a smoother batter and even baking.
- Master Piping Techniques: Practice on parchment paper before decorating the cake. Use a star tip for vintage swirls or flowers.
- Cool Before Frosting: Ensure the cake is completely cool before adding frosting to avoid melting or sliding.
Creative Variations to Make It Yours
- Birthday Vintage Heart Cake: Add colorful sprinkles to the batter and use vibrant frosting shades for a festive look.
- Vintage Heart Cake White Elegance: Keep it monochromatic with white buttercream and delicate pearl decorations for a timeless aesthetic.
- Flavored Layers: Infuse the cake with flavors like strawberry, lemon, or chocolate by adding fruit puree, zest, or cocoa powder to the batter.
Pro Tip:
For a personal touch, customize the piping with a heartfelt message or initials. This makes the cake perfect for weddings, anniversaries, or Valentine’s Day surprises.
Serving Suggestions for Your Vintage Heart Cake
Your vintage heart cake is ready, and now it’s time to present it in a way that enhances its charm and elegance. Here are some creative serving ideas to make the moment extra special:
1. Showcase the Beauty
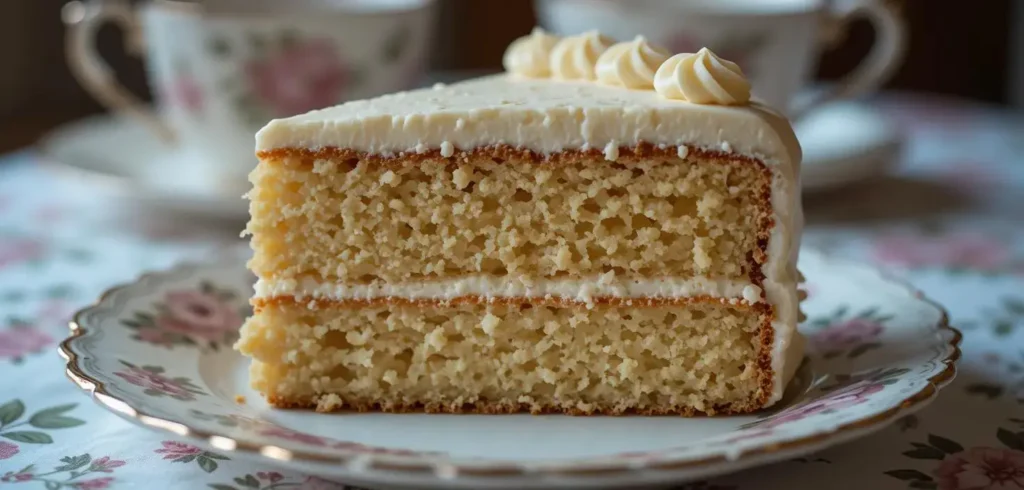
- Place the cake on a pedestal stand with a lace doily to highlight its intricate design.
- Add a backdrop of fresh flowers or candles for a romantic and vintage vibe.
2. Pair with Perfect Accompaniments
- Serve with fresh berries or a dollop of whipped cream for added freshness and flavor.
- Pair with hot beverages like tea, coffee, or hot cocoa for a cozy dessert experience.
3. Customize for the Occasion
- Valentine’s Day: Use heart-shaped plates and add a drizzle of raspberry sauce for a romantic touch.
- Birthday Celebrations: Decorate with sparklers or colorful candles for a festive flair.
- Casual Gatherings: Slice the cake into smaller portions and serve buffet-style with other treats.
Pro Tip:
For a modern twist, serve the vintage heart cake alongside individual mini cupcakes with matching vintage piping designs. This makes it easy for guests to enjoy without slicing the main cake.
Storing and Reheating Your Vintage Heart Cake
To enjoy your vintage heart cake at its freshest, proper storage and reheating are key. Follow these simple tips to keep your cake as delightful as the day you made it.
1. Storing Your Cake
- Room Temperature: If unfrosted, wrap the cake tightly in plastic wrap and store it at room temperature for up to 2 days.
- Refrigeration: For frosted cakes, cover them loosely with plastic wrap or store them in an airtight container in the fridge for up to 5 days.
- Freezing: Wrap individual slices in plastic wrap, then aluminum foil, and freeze for up to 3 months. Thaw in the fridge overnight before serving.
2. Reheating Tips
- Microwave Method: Warm a slice for 10-15 seconds to soften the texture, but avoid overheating to keep the frosting intact.
- Oven Method: Place the cake in a preheated oven at 300°F (150°C) for 5-10 minutes for a fresh-baked feel. Cover with foil to prevent drying.
Pro Tip:
For a quick refresh, add a light layer of fresh frosting or a drizzle of warm glaze to enhance the cake’s flavor and appearance after reheating.
Common Mistakes and How to Fix Them
Even the best bakers face challenges when crafting a vintage heart cake. To help you avoid frustration and achieve flawless results, here are some common mistakes and practical solutions:
1. Uneven Baking
- Problem: The cake rises unevenly or develops cracks on top.
- Fix: Ensure your oven is preheated and your pan is level. Avoid overmixing the batter, as it can introduce excess air. Use an oven thermometer to check for consistent heat.
2. Sticky or Broken Cake Layers
- Problem: The cake sticks to the pan or falls apart during removal.
- Fix: Always grease your pan thoroughly and line it with parchment paper. Let the cake cool completely before removing it to maintain its structure.
3. Melting Frosting
- Problem: Frosting becomes too runny or slides off the cake.
- Fix: Ensure the cake is completely cool before applying frosting. If your frosting is too soft, chill it in the fridge for 10-15 minutes to firm it up before piping.
4. Piping Mishaps
- Problem: Uneven or messy piping designs.
- Fix: Practice on parchment paper to refine your technique before decorating the cake. Keep steady pressure on the piping bag for consistent results.
5. Overpowering or Bland Flavors
- Problem: The cake tastes too sweet or lacks flavor.
- Fix: Balance sweetness with a pinch of salt and enhance flavors with quality vanilla extract, citrus zest, or a hint of almond extract.
Pro Tip:
If something doesn’t go as planned, remember that creative decorating can cover minor imperfections. A few extra swirls or sprinkles can turn any mistake into a charming feature!
FAQs About Vintage Heart Cake
What Makes a Cake Vintage?
A vintage cake features nostalgic designs like intricate piping, pastel colors, and timeless patterns, evoking classic baking traditions.
How Do You Cut a Cake Into a Heart Shape?
Cut a round cake in half and position the halves on two adjacent sides of a square cake. Smooth with frosting for a seamless heart shape.
Why Are Heart Cakes So Popular?
Heart cakes symbolize love, making them perfect for Valentine’s Day, weddings, and other celebrations of affection.
How Do You Line a Heart Cake Tin?
Trace the tin’s shape onto parchment paper, cut it out, and place it in the tin. Grease the tin and parchment for easy release.
Why Are Vintage Cakes Trending?
Vintage cakes combine nostalgia and artistry, appealing to those who love classic designs and timeless elegance.
How Many People Does a Heart-Shaped Cake Feed?
A 6-inch heart cake serves 8–10 people, while an 8-inch cake serves 12–16, depending on portion size.
Celebrate in Style with Your Vintage Heart Cake
You’ve now mastered the art of crafting a stunning vintage heart cake—a dessert that’s as beautiful as it is delicious. Whether you’re celebrating a birthday, or Valentine’s Day, or just want to create something special for your loved ones, this timeless cake will steal the show.
With its intricate piping, nostalgic charm, and customizable flavors, this cake is more than just a dessert; it’s a heartfelt expression of love and creativity. You’ve learned how to mix, bake, decorate, and even personalize this cake to match any occasion. Plus, with helpful tips for storage and serving, you’re ready to make every moment unforgettable.
Now it’s time to share your creation! Snap a photo, enjoy the compliments, and cherish the smiles it brings. Baking is about connection, and your vintage heart cake is the perfect way to spread joy, one slice at a time. Happy baking! 🧡
Click here to discover more cakes! 🍰
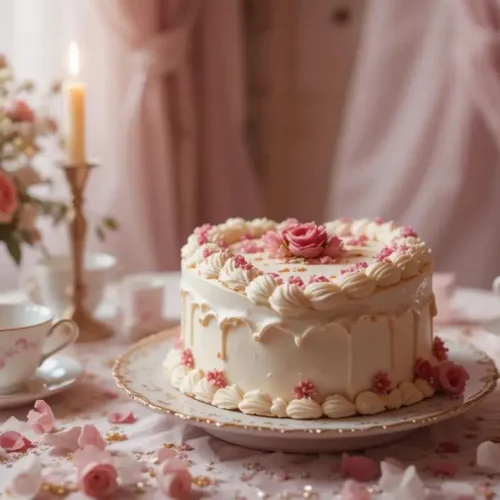
Master The Art Of A Stunning Vintage Heart Cake
Ingredients
- 2 cups all-purpose flour
- 1 ½ teaspoons baking powder
- ½ teaspoon salt
- 1 cup granulated sugar
- 2 large eggs
- ½ cup unsalted butter softened
- 1 cup whole milk
- 1 teaspoon vanilla extract
Instructions
- Preheat oven to 350°F and prepare the heart-shaped pan.
- Cream butter and sugar, then mix in eggs and vanilla.
- Gradually add dry ingredients, alternating with milk.
- Pour batter into the pan and bake for 25–30 minutes.
- Let cool completely before frosting and decorating.
Notes
- Ensure all ingredients are at room temperature for a smooth batter.
- Adjust frosting colors to match your theme.

